

Vibe code a simple OAuth flow with GitHub API + Go backend
Vibe coding is not about typing magic prompts and expecting perfect software. It is not sitting back while AI generates your entire app. It is still real engineering. The difference is that you now have an assistant that can speed up delivery when your requirements are clear and your technical judgment stays switched on.
Like most things in software engineering, there is no one-size-fits-all approach, and that applies to vibe coding as well. In this post, I share my take through a practical example: implementing GitHub OAuth login in a Go backend.
Getting started
My code editor of choice is Visual Studio Code, and my coding agent of choice is Codex. Before writing any code or instructions, we need a way to organize our thoughts. I will be using a combination of an instructions folder and a rules file. For Codex, that rules file is AGENTS.md, and it should live in the project root.
Think of the instruction files as the Brain (PRD/TechStack), AGENTS.md as the Manager (rules), and the AI as the Worker. Let's orchestrate them to build a GitHub OAuth flow, but before that, let's fill out the instruction files.
PRD.md
# High level definition
The project will have a couple of features, but to start, the focus will be authentication via GitHub OAuth.
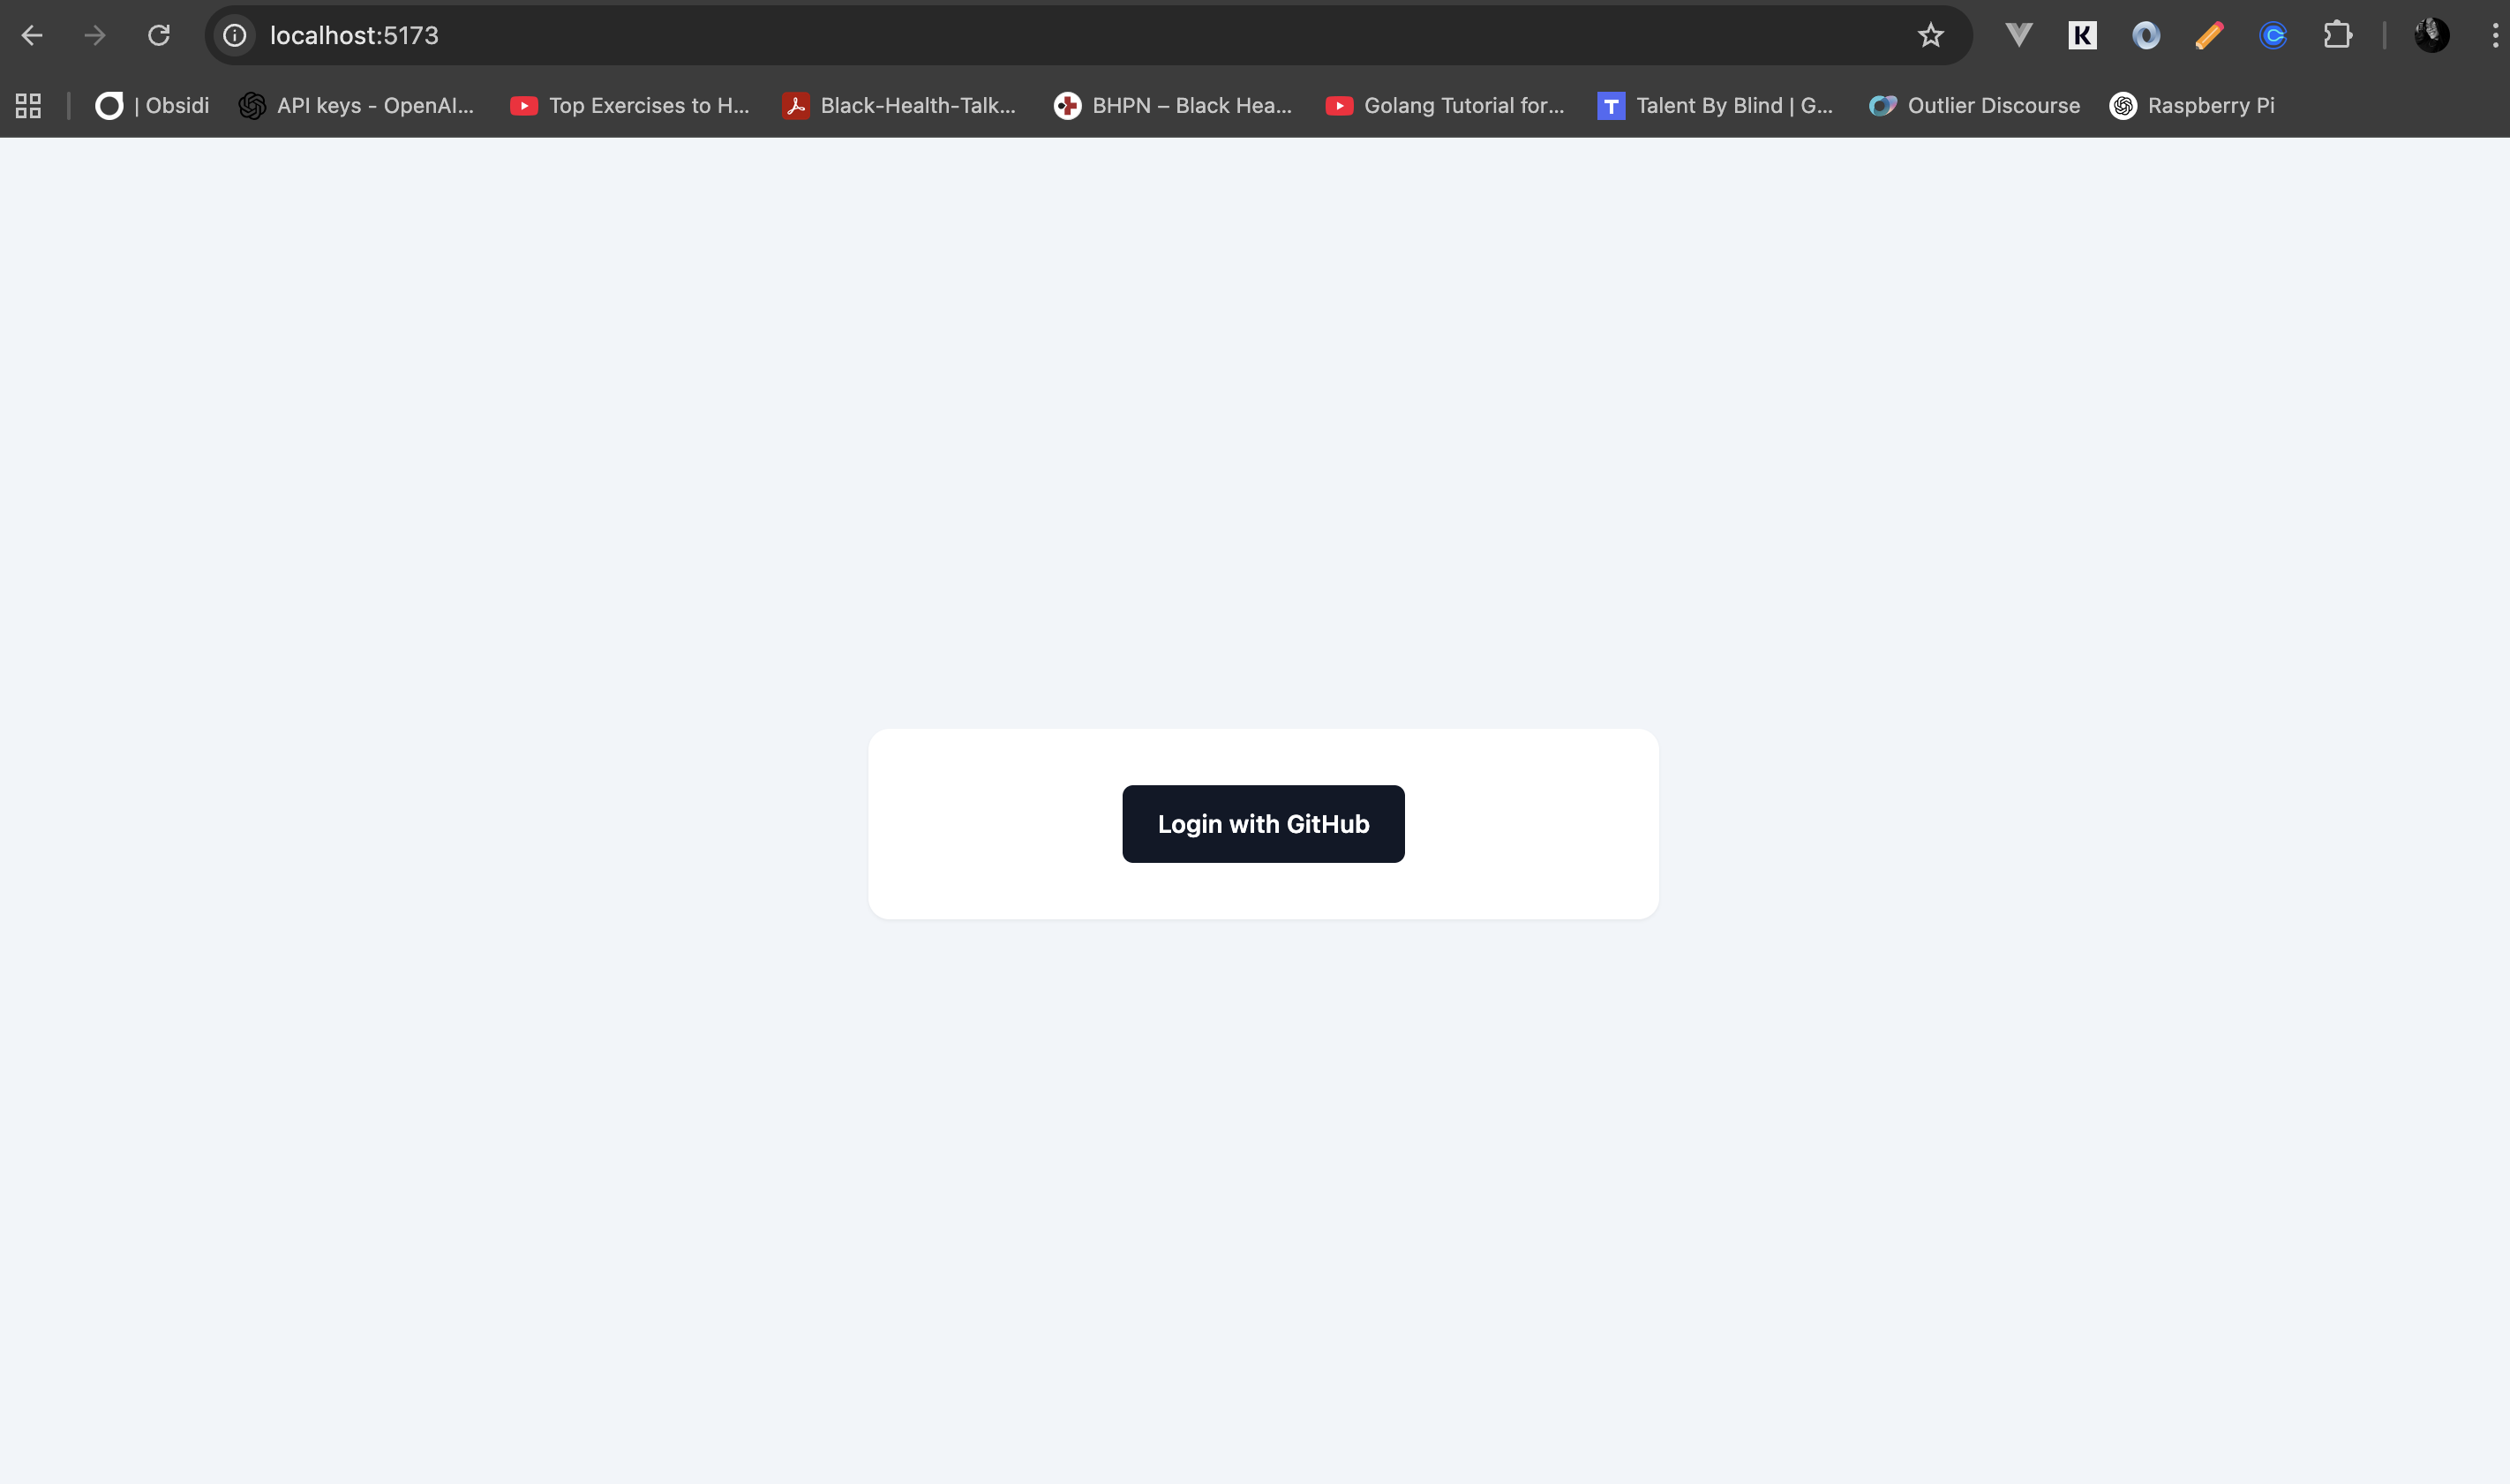
As a user, I should be able to click a button that says "Login with GitHub," and when redirected back to the app successfully, I should see text on the screen that says "Logged in."
Responsiveness should be included from the start of this project. The button and the post-login text should sit right in the middle of the screen.Techstack.md
# Techstack

For this project, I intend to use Go for the backend. The database will be PostgreSQL, and the frontend should be built with ReactJS.
For the frontend setup, only one component will be needed. To start, no state management is required. The page should have a button that says "Login with GitHub." When the user is redirected back to the app, the button disappears and is replaced with text that says "Logged in."

## Golang
The backend code should live inside a folder named backend in the project root

## ReactJS
The frontend code should live inside a folder named frontend in the root of the project
1. The "Orchestration" Step
Now we need to tell the AI that these files exist and are its "Source of Truth." Open your AI chat (Codex/Agent) and send a Context Initialization prompt:
I am starting a new project. I have provided a PRD.md, techstack.md, and AGENTS.md.
Read these files to understand the project requirements and rules. Do not write code yet.
Acknowledge you understand the stack (Go + React) and the goal (GitHub OAuth).
2. The "Plan" Step (The Vibe Check)
Once the AI acknowledges the files, trigger the Plan Mode you mentioned. This prevents the AI from writing a huge "monolith" file that breaks immediately.
Based on the PRD, give me a step-by-step technical plan to implement GitHub OAuth.
Include the folder structure for /backend and /frontend and list the specific Go packages and React hooks you'll use.
This is the point where you can give more instructions, correct misunderstandings, and even specify packages. For the sake of this post, let's assume the plan ticked every box and was good to go.
3. The "Execution" Step (Iterative Coding)
Now we "vibe." Instead of asking for the whole app, ask for pieces based on the plan it just created:
Prompt A: "Step 1: Initialize the Go backend in /backend. Create the basic server and the GitHub OAuth config using environment variables for Client ID and Secret."
Prompt B: "Step 2: Create the React frontend in /frontend. Add the 'Login with GitHub' button centered in the screen using Tailwind. Just mock the login state for now to check the UI."
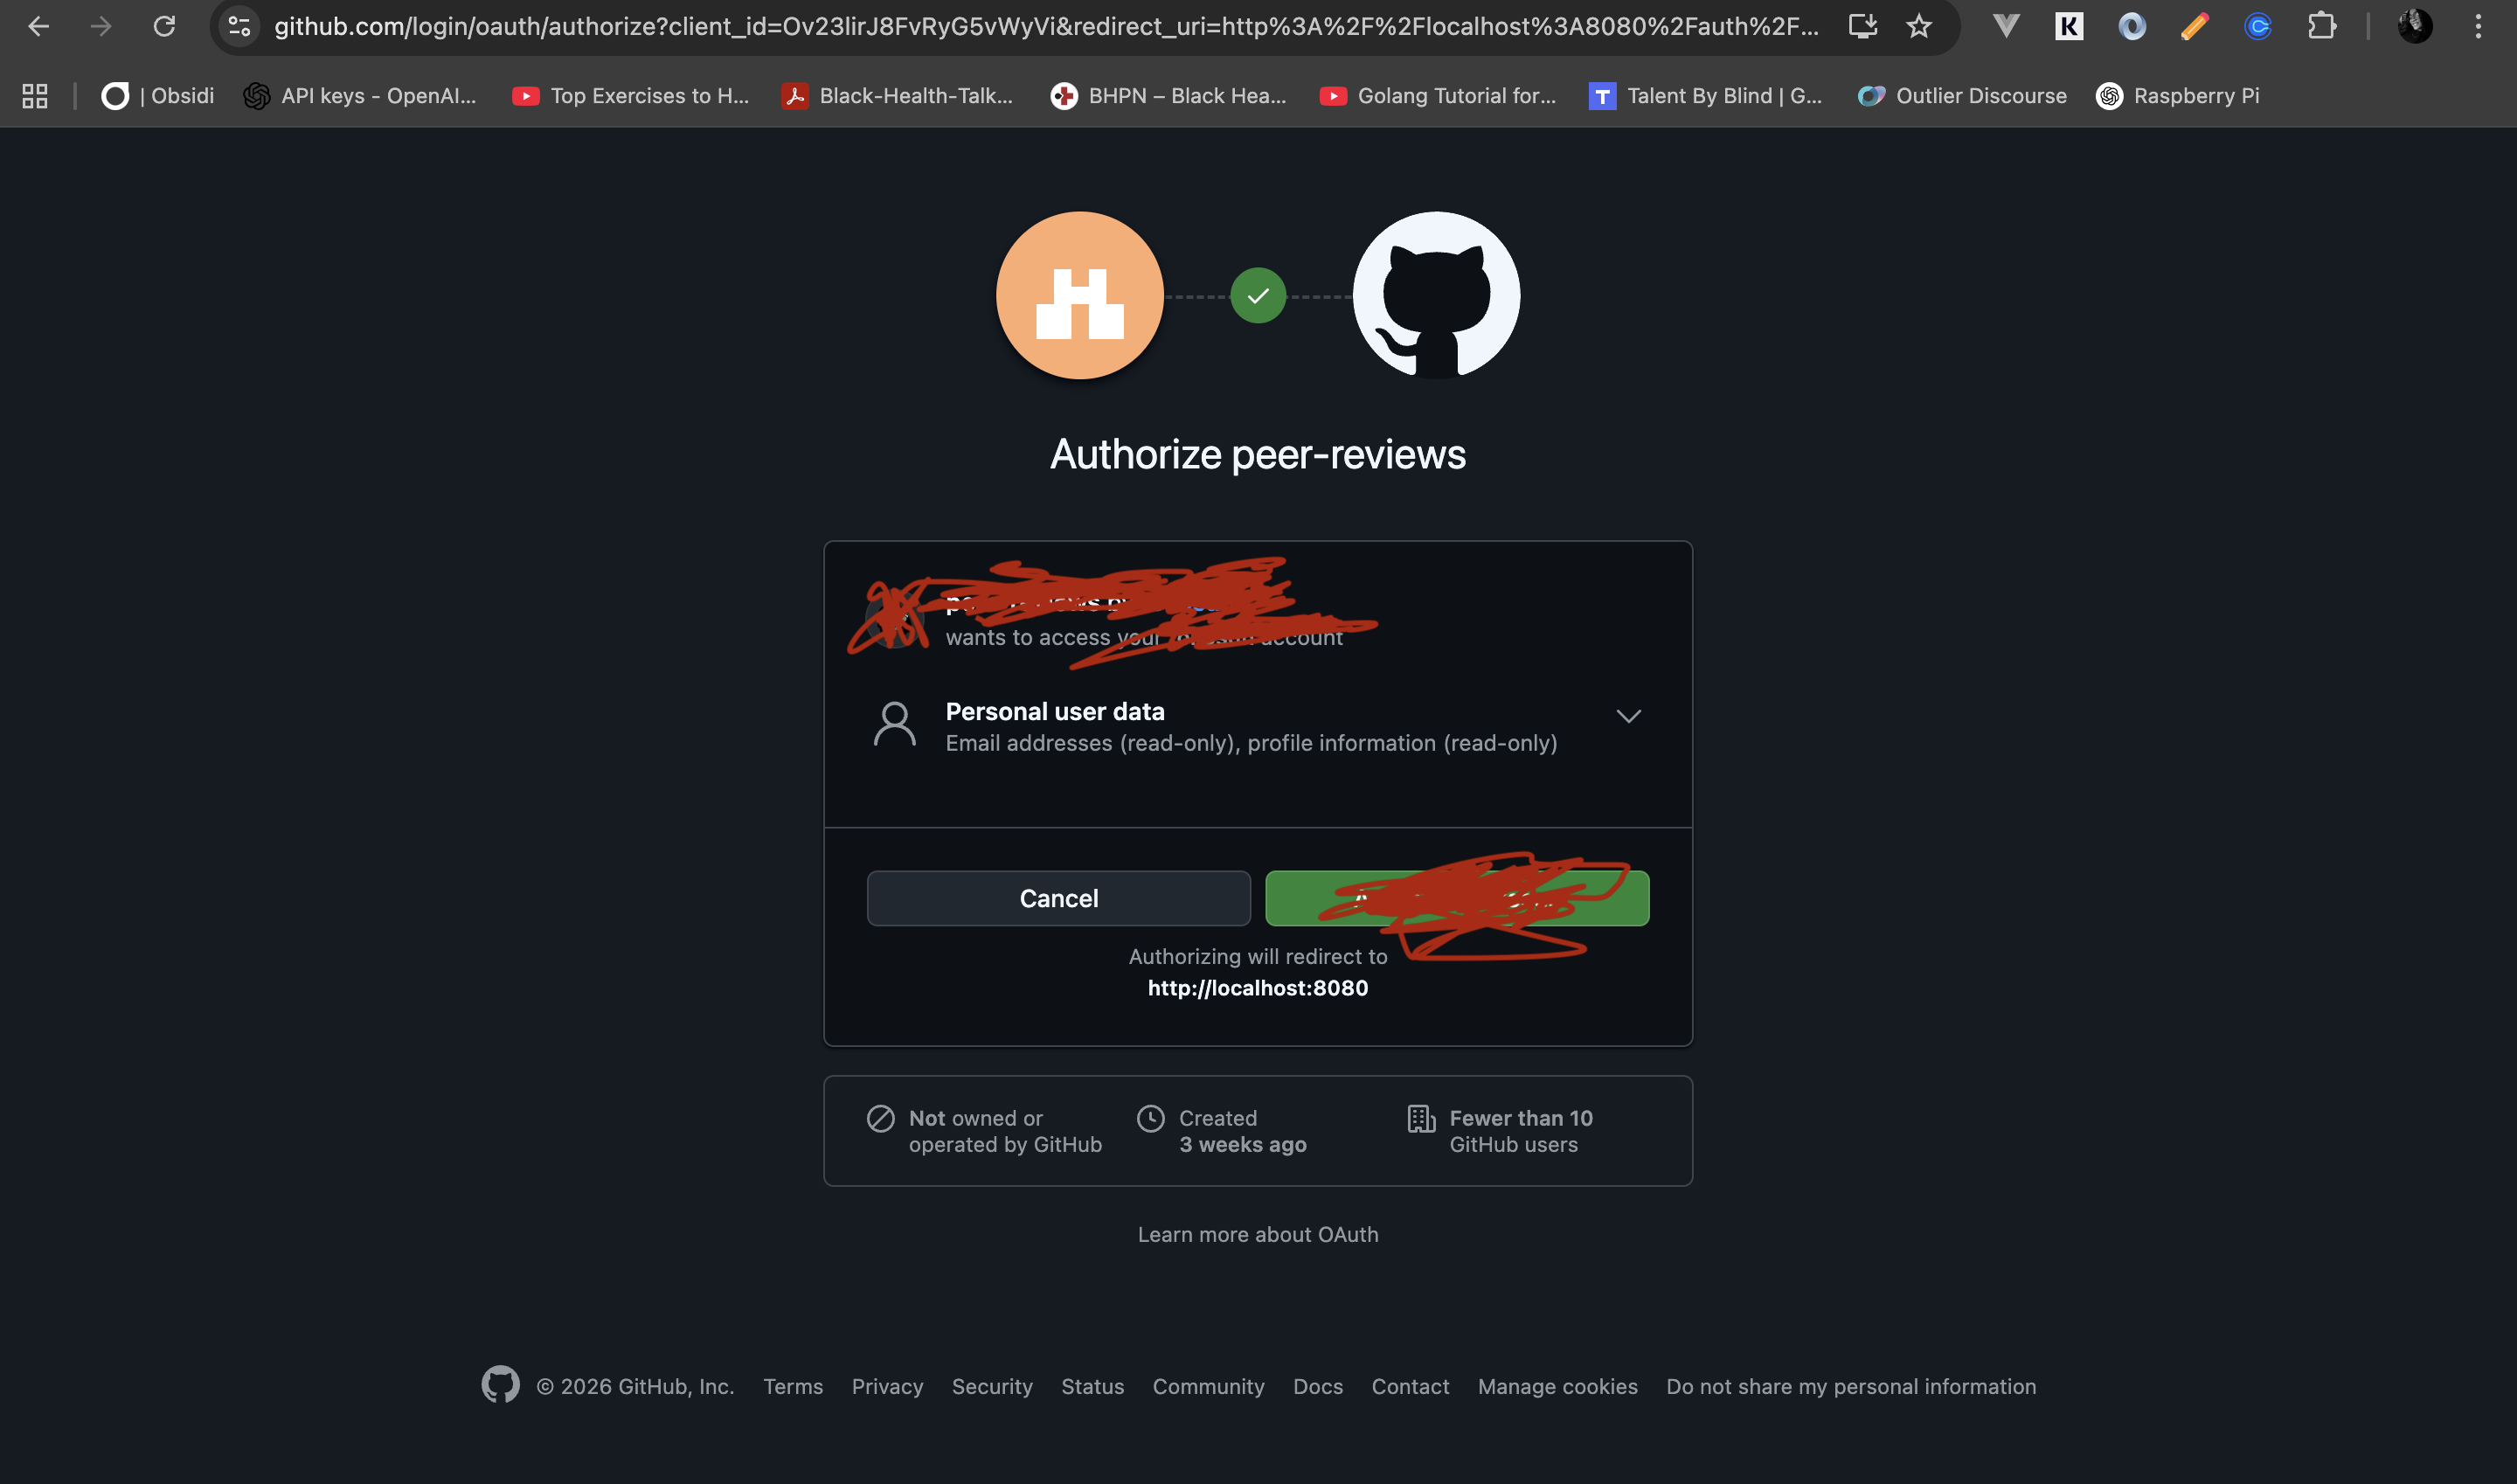
Prompt C: "Step 3: Connect this button to the backend /auth/github/login endpoint and handle callback state from the real session check."
We will need GitHub credentials in the env file, so go ahead and copy the example env file and retrieve your client ID and secret from GitHub.
SERVER_ADDR=:8080
GITHUB_CLIENT_ID=your_github_client_id
GITHUB_CLIENT_SECRET=your_github_client_secret
GITHUB_REDIRECT_URL=http://localhost:8080/auth/github/callback
When you have your keys in place, do the following to launch the app:
- Open a terminal
cd backend
set -a; source .env; set +a
go run ./cmd/api- Open another terminal, from the project root
cd frontend
npm install
npm run dev
PS: If you run into errors, check your Node version. I used the latest stable LTS release.
And there you have it: a working OAuth flow!
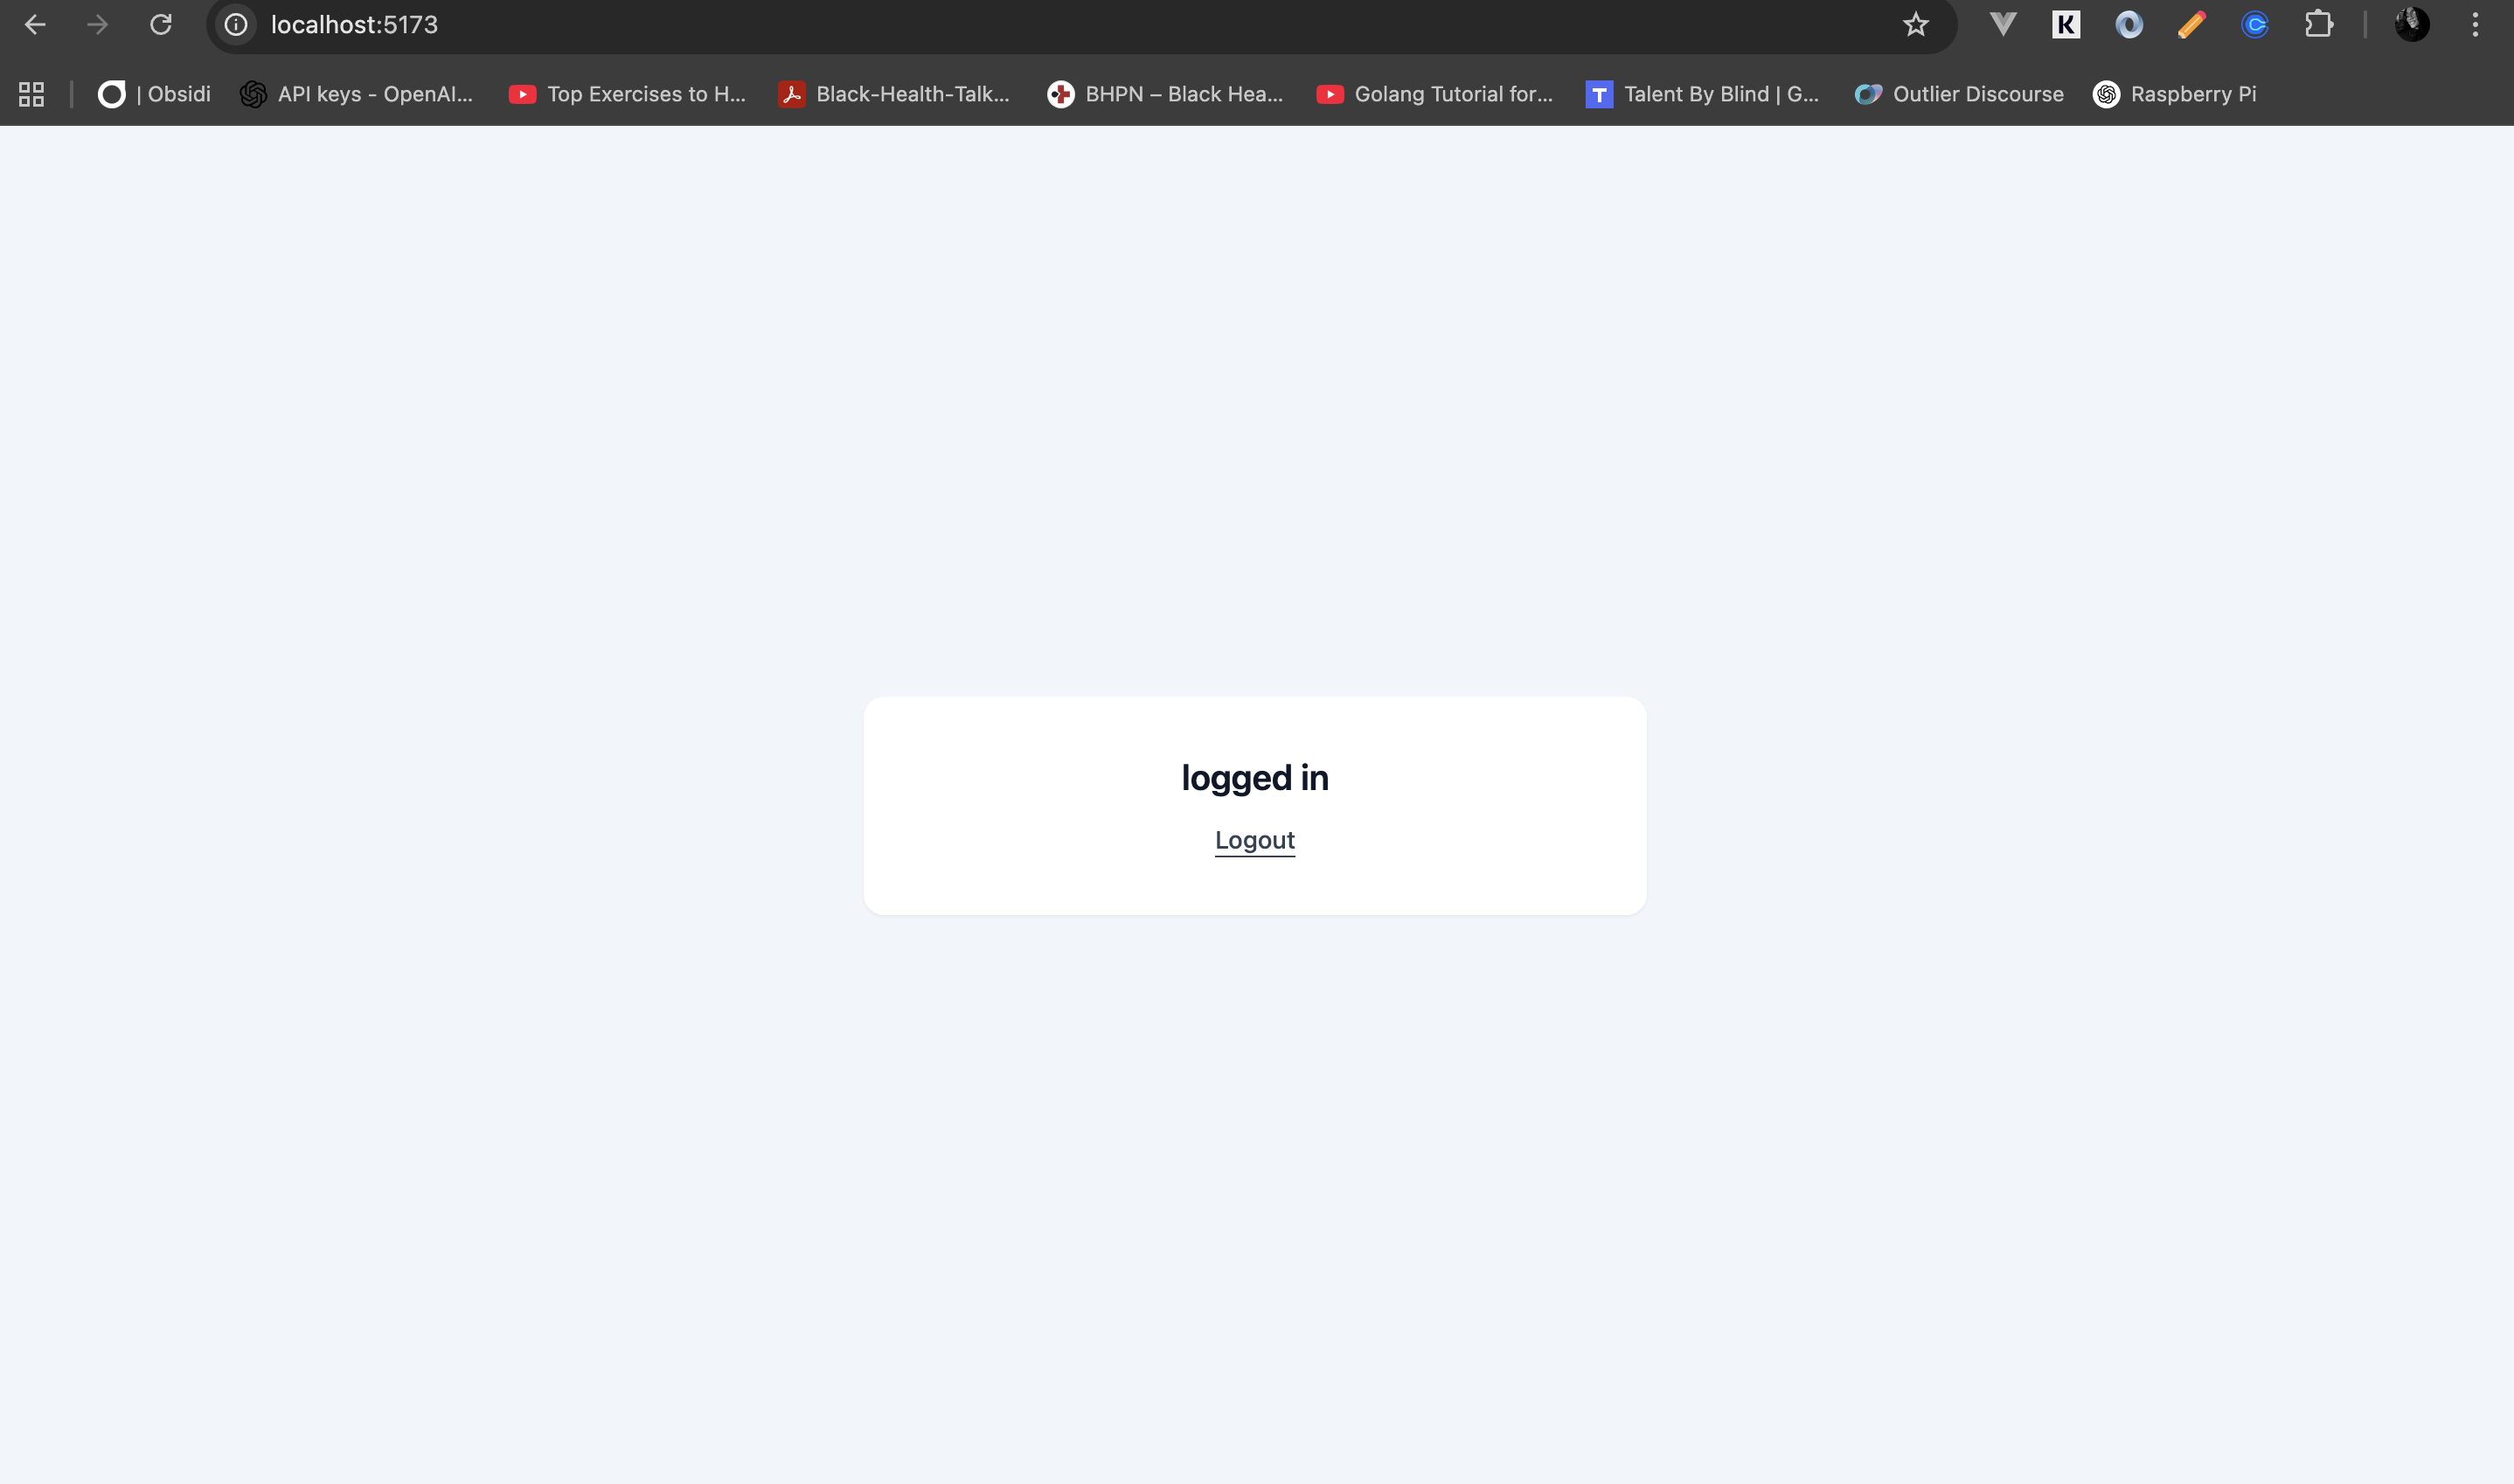
We have successfully built an OAuth flow using agentic AI. Vibe coding is not just chatting with AI. It works best when you anchor it with clear requirements, practical constraints, and active technical judgment.
Final thoughts
A tool is only as good as the person using it. AI is powerful, but at the end of the day it is still just another tool in your toolbox. The real edge comes from knowing what to ask, what to review, and what to reject. It takes practice and patience, and I still work on both, but the payoff is worth it.